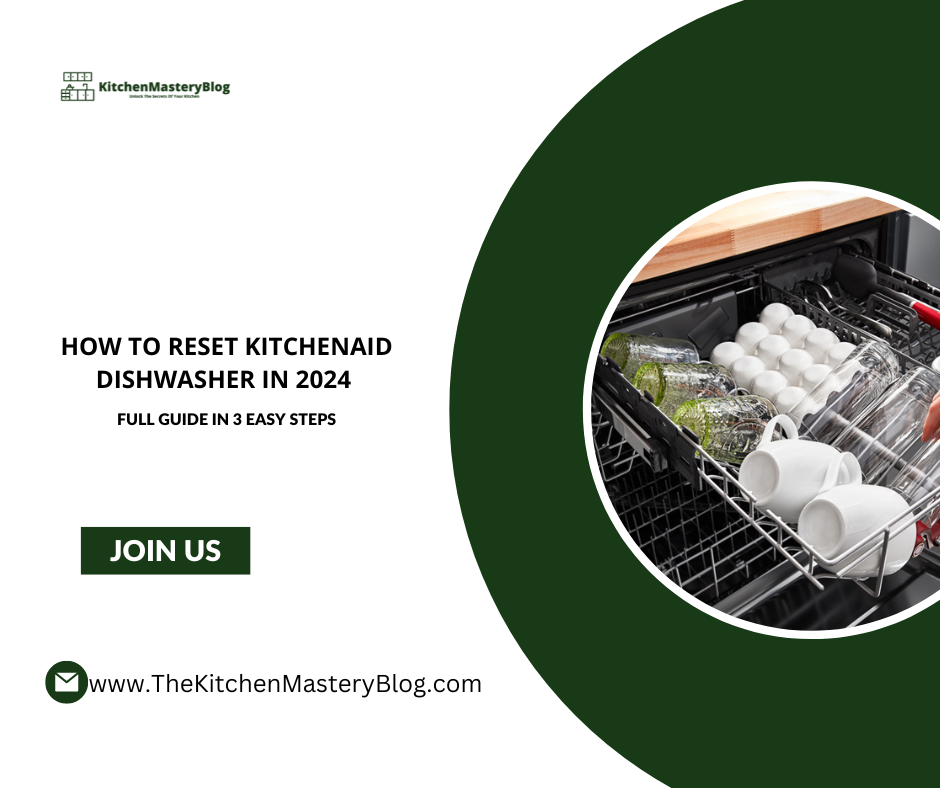
If you have the question, “How to reset KitchenAid dishwasher,” you’ve come to the right place. Welcome to our comprehensive guide on maintaining optimal performance for your KitchenAid dishwasher.
Keeping your dishwasher in top condition is essential for hassle-free dishwashing. In this guide, we’ll explore essential maintenance tips, including the reset process.
How to reset kitchenaid dishwasher in 2024 – Best Guide in 3 Steps Overview
Table of Contents
1. Understanding Your KitchenAid Dishwasher

KitchenAid dishwashers are renowned for their exceptional performance, reliability, and innovative features that make dishwashing a breeze.
Understanding the key components and functions of your KitchenAid dishwasher is essential for proper maintenance and troubleshooting.
In this section, we’ll delve into the various aspects of your KitchenAid dishwasher, from its interior layout to its advanced cleaning technologies.
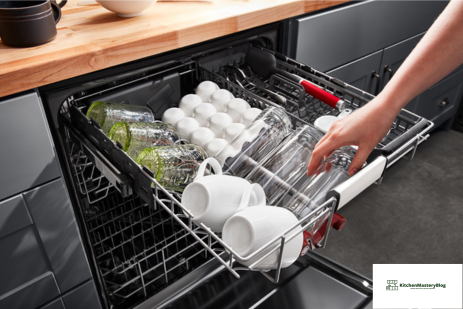
Interior Layout and Components The interior layout of your KitchenAid dishwasher is designed for maximum efficiency and flexibility.
Typically, you’ll find adjustable racks and shelves that allow you to customize the dishwasher’s configuration to accommodate different types and sizes of dishes.
The presence of fold-down tines and adjustable upper racks further enhances the versatility of the dishwasher, enabling you to make optimal use of the available space.
At the bottom of the dishwasher, you’ll find the dishwasher filter, which plays a crucial role in trapping food particles and debris during the wash cycle.
Regular cleaning and maintenance of the filter are essential to prevent clogs and ensure efficient cleaning performance.
Advanced Cleaning Technologies KitchenAid dishwashers are equipped with advanced cleaning technologies designed to deliver superior cleaning results while conserving energy and water.
One such feature is the ProScrub option, which utilizes targeted spray jets to tackle tough, baked-on messes without the need for pre-soaking or scrubbing.
Additionally, many KitchenAid dishwashers feature a ProWash cycle that automatically adjusts the wash settings based on the soil level of the dishes, ensuring optimal cleaning performance while minimizing water and energy consumption.
The inclusion of a stainless steel tub not only enhances durability but also helps maintain higher water temperatures for more effective cleaning.
Understanding the Control Panel The control panel of your KitchenAid dishwasher provides access to a range of settings and options to customize the wash cycle according to your preferences.
Common settings include normal wash, heavy-duty wash, and eco-friendly options, allowing you to balance cleaning performance with energy efficiency.
Many KitchenAid dishwashers also feature a delay start option, which allows you to program the dishwasher to start the wash cycle at a later time, convenient for running the dishwasher during off-peak hours or when you’re away from home.
In summary, understanding the various components, technologies, and settings of your KitchenAid dishwasher is key to maximizing its performance and longevity.
By following recommended maintenance practices, you can ensure that your dishwasher continues to deliver sparkling clean dishes with every cycle.
2. How to Reset Your KitchenAid Dishwasher

Is your KitchenAid dishwasher acting up? Don’t fret; resetting it might be the solution you need. Whether you’re encountering error codes or performance issues, a reset can often restore your dishwasher to its optimal state.
In this comprehensive guide, we’ll walk you through the step-by-step process of resetting your KitchenAid dishwasher, ensuring hassle-free dishwashing in no time.
Understanding the Reset Process Before diving into the reset procedure, it’s essential to understand why you might need to reset your KitchenAid dishwasher.
Common reasons include software glitches, power surges, or the need to clear error codes. Resetting the dishwasher essentially reboots its internal systems, clearing any temporary faults and restoring it to its default settings.
Step 1: Turn Off the Dishwasher Begin by ensuring the dishwasher is not running. If it’s currently in use, allow the cycle to complete or manually cancel the operation.
Locate the power button on the dishwasher’s control panel and switch it off. This step ensures that the dishwasher is completely powered down before proceeding with the reset.
Step 2: Unplug the Dishwasher For a thorough reset, it’s crucial to disconnect the dishwasher from its power source.
Locate the power cord behind the dishwasher and unplug it from the electrical outlet. Wait for at least five minutes to allow the dishwasher’s internal capacitors to discharge fully.
Step 3: Plug In and Power On After the waiting period, plug the dishwasher back into the electrical outlet.
Ensure it’s securely connected, and then switch the power button back on. This action initiates the reboot process, allowing the dishwasher to recalibrate its internal settings.
Step 4: Select Reset Option (if available) Some KitchenAid dishwasher models may feature a specific reset option in the control panel.
Refer to your dishwasher’s user manual to determine if such an option exists and how to activate it. Using the reset option can provide a more thorough reset, ensuring all settings are returned to their factory defaults.
Step 5: Test the Dishwasher Once the reset process is complete, test the dishwasher by running a short cycle with no dishes inside.
Monitor its operation closely to ensure everything is functioning correctly. If any issues persist, refer to the troubleshooting section of your user manual or contact KitchenAid customer support for further assistance.
Recommended Products:

- Surge Protector: Protect your appliances with Amazon Basics Rectangular 6-Outlet Surge Protector Power Strip.
- This pack of 2, 2-foot strips offers 200 joules of surge protection per outlet, ensuring safety and reliability. Ideal for safeguarding your KitchenAid dishwasher and other electronics.
In conclusion, resetting your KitchenAid dishwasher is a simple yet effective solution to many common issues you may encounter.
By following the steps outlined in this guide and using recommended products for added protection, you can ensure your dishwasher operates smoothly and efficiently for years to come.
3. Maintenance Tips for Optimal Performance
To ensure your KitchenAid dishwasher continues to operate at its best, regular maintenance is key.
By implementing these maintenance tips, you can maximize performance and extend the lifespan of your appliance.
Clean the Filter Regularly One of the most crucial maintenance tasks for your KitchenAid dishwasher is cleaning the filter.
The dishwasher filter is responsible for trapping food particles and debris during the wash cycle, preventing them from clogging the drain or spray arms.
Over time, the filter can become clogged with residue, affecting the dishwasher’s cleaning performance.
To clean the filter, follow these steps:
- Locate the dishwasher filter, typically located at the bottom of the dishwasher tub.
- Remove the filter by twisting or lifting it out, depending on the model.
- Rinse the filter under running water to remove any debris and buildup.
- Use a soft brush or sponge to gently scrub the filter, if necessary, to dislodge stubborn residue.
- Once clean, reinsert the filter back into its housing and ensure it’s securely in place.
Recommended Products:
- Dishwasher Cleaner: Keep your KitchenAid dishwasher running smoothly with a specially formulated dishwasher cleaner. Choose a product that effectively removes limescale, grease, and odor, ensuring optimal performance. [Insert image of dishwasher cleaner]
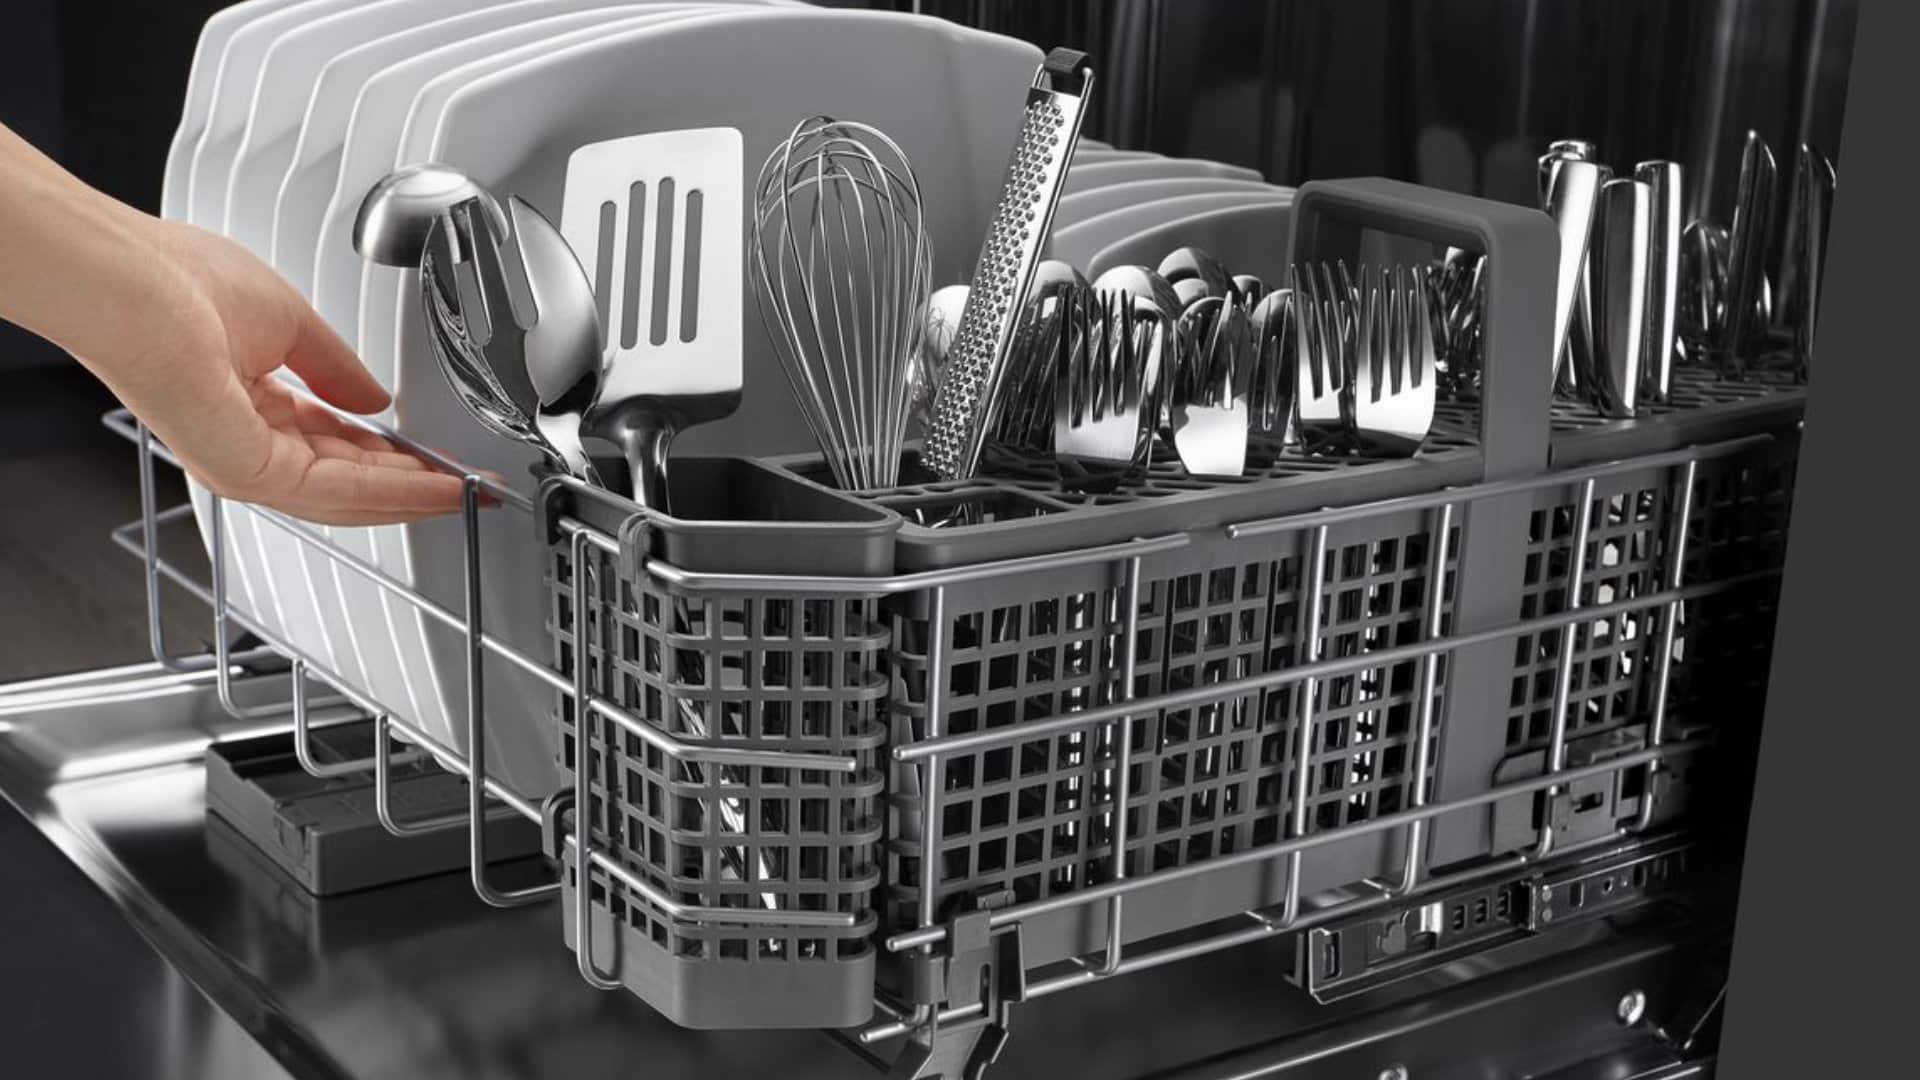
Inspect and Clean Spray Arms The spray arms in your KitchenAid dishwasher play a crucial role in distributing water evenly throughout the dishwasher tub, ensuring thorough cleaning of dishes.
Over time, the spray arms can become clogged with food particles or mineral deposits, compromising their effectiveness.
To inspect and clean the spray arms, follow these steps:
- Locate the spray arms inside the dishwasher tub, typically attached to the bottom or top rack.
- Remove the spray arms by twisting or lifting them out, depending on the model.
- Check for any visible debris or buildup inside the spray arms and along the spray nozzles.
- Use a soft brush or toothpick to remove any clogs or deposits from the spray arms and nozzles.
- Rinse the spray arms thoroughly under running water to ensure they’re clean and free from obstruction.
- Once clean, reattach the spray arms securely back into place.

Recommended Products:
- Dishwasher Rinse Aid: Enhance the drying performance of your KitchenAid dishwasher with Amazon Basics Dishwasher Rinse Aid Liquid. This pack of 1, 32 fl oz bottle ensures spotless, streak-free dishes with every wash. Say goodbye to water spots and hello to sparkling results.
By following these maintenance tips regularly, you can ensure your KitchenAid dishwasher operates at optimal performance, delivering sparkling clean dishes with every cycle.
Incorporate these practices into your routine to prolong the lifespan of your appliance and avoid costly repairs down the line.
FAQ

- How do I reset my KitchenAid dishwasher? To reset your KitchenAid dishwasher, start by ensuring it’s not running, then unplug it for a few minutes before plugging it back in and turning it on. For specific instructions, refer to your dishwasher’s user manual.
- Why is my KitchenAid dishwasher not working? Several factors could cause a KitchenAid dishwasher to malfunction, including power issues, clogged filters, or faulty components. Troubleshoot by checking the power supply, cleaning filters, and inspecting for any visible signs of damage.
- How often should I clean the filter in my KitchenAid dishwasher? It’s recommended to clean the filter in your KitchenAid dishwasher every 2-3 months or as needed, depending on usage. Regular cleaning helps prevent clogs and ensures optimal cleaning performance.
- Can I use vinegar to clean my KitchenAid dishwasher? Yes, vinegar can be used to clean and descale your KitchenAid dishwasher. Simply pour a cup of vinegar into the bottom of the dishwasher and run a hot water cycle. This helps remove mineral deposits and odors.
- How can I improve the drying performance of my KitchenAid dishwasher? To improve drying performance, ensure proper loading of dishes to allow for adequate air circulation. Additionally, using a dishwasher rinse aid can help dishes dry more effectively by reducing water spots and promoting faster drying.
What’s next?

Thank you for taking the time to read this blog. I hope you found the information and tips helpful.
Related Blogs to Explore
Enhance your kitchen mastery journey by delving into more insightful content. Explore our guide on KitchenAid K400 Review 2023 ( Nr.1 Best Blender On The Market?)
Discover the ultimate guide to understanding and optimizing your KitchenAid dishwasher’s performance.
From interior layout insights to advanced cleaning technologies, unlock the secrets to pristine dishwashing. Elevate your kitchen mastery with expert tips and recommendations.
Discover the ultimate guide to mastering homemade ice cream with our in-depth review of the KitchenAid Ice Cream Maker. Unleash your creativity in the kitchen and indulge in creamy delights.
Elevate your dessert game with expert insights and recommendations. KitchenAid ice cream maker Review – 2023 – Is it the best ice cream maker?
Stay tuned for more informative articles and guides on kitchen mastery here at kitchenmasteryblog.com.
We’ll be covering a wide range of topics, from knife skills to culinary techniques and everything in between.
We look forward to welcoming you back soon for more valuable insights and expertise to elevate your culinary journey. Happy cooking, and see you again on our next blog!