
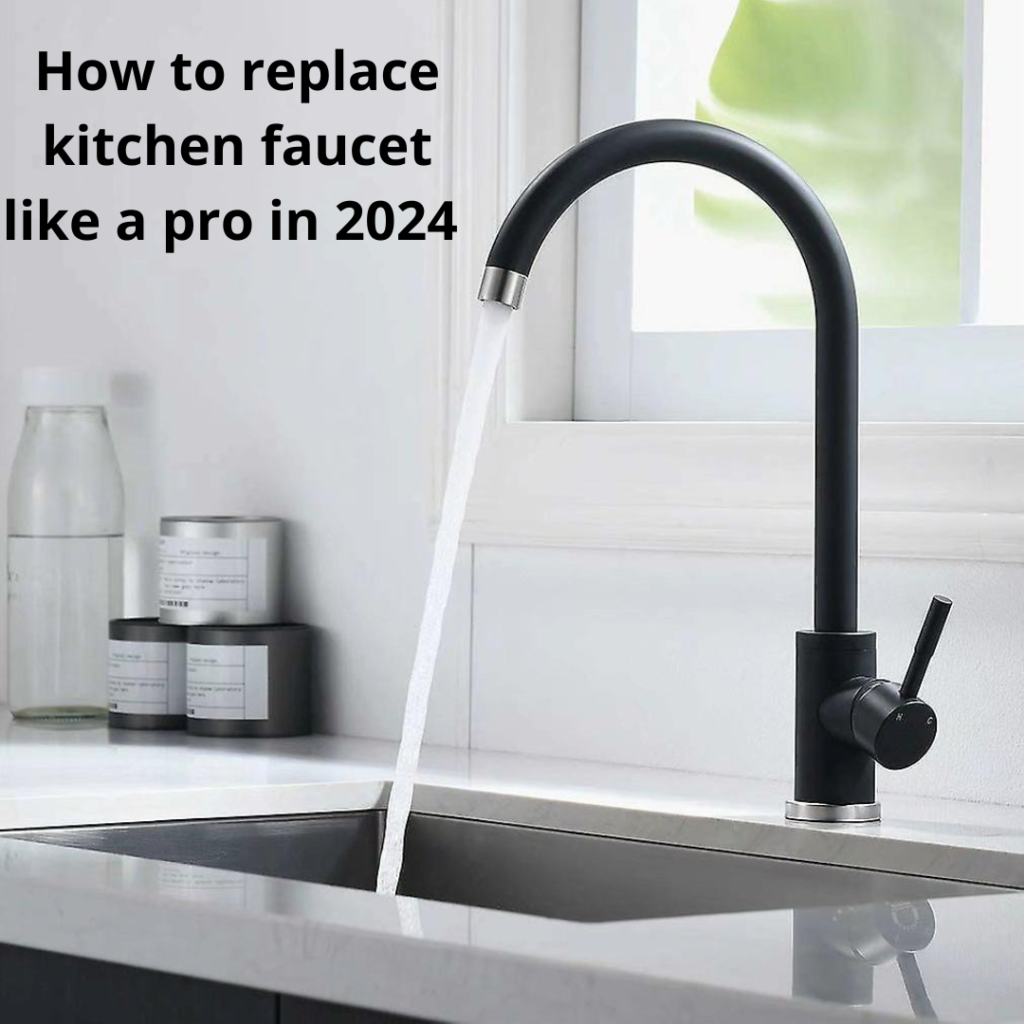
How to replace kitchen faucet like a pro in 2024 Overview
If you’ve ever wondered, “How to replace a kitchen faucet?” you’re in the right place. In this comprehensive guide, we unravel the mysteries of faucet installation, specifically focusing on the intricacies of the kitchen domain.
Whether you’re a seasoned DIY enthusiast seeking precision or a novice embarking on your first home improvement journey, the journey to a rejuvenated kitchen begins here.
Ready to transform your kitchen with a renewed aesthetic and enhanced functionality? Let’s embark on the enlightening journey of “How to Replace a Kitchen Faucet.”
Table of Contents
Step 1. Gather Necessary Tools
Tools for Faucet Replacement:
- Adjustable Wrench: The adjustable wrench is your versatile companion for tightening and loosening nuts and bolts. It ensures a secure connection between the faucet and the sink, a fundamental step in the replacement process.
- Basin Wrench: This specialized tool is designed for hard-to-reach places under the sink. Its long handle and swiveling jaw make it ideal for tightening or loosening nuts in confined spaces, simplifying the installation of your new kitchen faucet.
- Plumber’s Tape: Also known as Teflon tape, this thin white tape is essential for creating a watertight seal on threaded connections. Wrap the tape around the threads of pipes and fittings to prevent leaks in the long run.
- Bucket or Towels: Plumbing projects can get a bit messy, so having a bucket or towels on hand is a practical precaution. Use them to catch any water that may spill during the removal of the old faucet or installation of the new one.
- Plunger: While not directly related to the faucet replacement, having a plunger nearby can be a lifesaver. Sometimes, unexpected issues may arise, and having a plunger ready can help with any minor sink clogs that may occur during the process.
- Plumbers Putty: Plumbers putty is a sealant used to create a watertight seal around the base of the faucet. It’s especially useful for sinks made of materials like stainless steel or composite, providing an extra layer of protection against leaks.
- Screwdriver Set: A set of screwdrivers, both flathead and Phillips, will cover various screw types you may encounter during the replacement. These are often needed for securing the faucet in place or removing any existing screws.
- Flashlight: Illuminate the dark recesses under the sink with a flashlight. This tool ensures you can clearly see what you’re doing, making the entire process safer and more efficient.
- Bucket Wrench: For situations where a basin wrench may struggle to fit, a bucket wrench can be a handy alternative. Its design allows for easy access to nuts in tight spaces.
- Pipe Cutter or Hacksaw: In case you need to cut pipes during the replacement, having a pipe cutter or hacksaw will make the task much more manageable.
Recommended Product: Faucet Installation Tool Kit

The 60-Pc Master Tap and Die Set is a versatile threading tool kit catering to a wide range of applications with its comprehensive selection of SAE Inch Sizes (#4 to 1/2”) and Metric Sizes (M3 to M12) for both coarse and fine threads.
Crafted for durability, the set includes essential accessories such as adjustable tap wrenches and die stocks, ensuring convenience for various threading projects. The high-quality construction of taps and dies guarantees longevity, while the organized storage case enhances portability and easy access.
This toolkit is a must-have for professionals, hobbyists, and DIY enthusiasts, offering precision and reliability in automotive repairs, plumbing tasks, and beyond. Elevate your threading capabilities with this essential toolset.
Step 2: Turn Off Water Supply
Importance of Turning§ Off Water Supply:
- Preventing Unwanted Water Flow: Shutting off the water supply serves as a preemptive measure to prevent unexpected water flow during the replacement process. This ensures a dry workspace and minimizes the risk of water-related mishaps.
- Avoiding Water Damage: Turning off the water supply mitigates the risk of water splashing or leaking during the faucet removal. This precautionary step is instrumental in safeguarding surrounding areas, cabinetry, and flooring from potential water damage.
- Facilitating Smooth Disconnection: Disengaging the water supply lines ensures a smoother disconnection of the old faucet. This allows for a more controlled removal process without the interference of water pressure, making the overall replacement more manageable.
Specific Details and Precautions:
- Locate the Shut-Off Valves: Familiarize yourself with the location of the shut-off valves under the sink. These valves, usually positioned on the water lines leading to the faucet, are typically oval or circular handles that can be turned clockwise to close.
- Use Pliers if Necessary: In some cases, the shut-off valves may be stiff or difficult to turn by hand. Employ a pair of pliers to provide additional leverage while turning the valves. Exercise caution to avoid applying excessive force and causing damage.
- Turn Off Both Hot and Cold Water: Ensure both the hot and cold water supplies are turned off. Some sinks have individual shut-off valves for hot and cold water lines. Closing both valves guarantees a complete interruption of water flow.
- Release Pressure: After shutting off the water supply, turn on the faucet to release any remaining pressure in the lines. This step helps minimize the amount of water that may be present in the pipes when disconnecting the old faucet.
- Place a Bucket or Towels: To catch any residual water that might still be in the lines, place a bucket or towels under the sink. This precaution helps contain any potential drips or spills during the subsequent steps of the replacement process.
By meticulously adhering to the second step of turning off the water supply, you set the stage for a controlled and secure faucet replacement process. This proactive measure not only protects your kitchen surroundings from water-related issues but also streamlines the overall procedure for a successful upgrade.
Step 3: Remove the Old Faucet
Step-by-Step Instructions:
- Disconnect Water Supply Lines: Use an Adjustable Wrench to loosen and disconnect water supply lines from shut-off valves. Consider using a Faucet and Sink Installer Tool for versatile functionality.
- Remove the Mounting Nuts: Beneath the sink, locate and loosen mounting nuts securing the old faucet. A Basin Wrench can be effective in tight spaces.
- Detach the Faucet from the Sink: Lift the old faucet carefully from the sink after removing mounting nuts. Check for additional hardware and use a Magnetic Wristband to keep track of small components.
- Clean the Sink Surface: Thoroughly clean the sink surface to remove debris or residue from the old fixture. Use an All-Purpose Cleaner and Scrub Brush for effective cleaning.
Recommended Products:

Faucet and Sink Installer Tool:
Product: 60-Pc Master Tap and DIY Set
Description: This multi-purpose tool simplifies various tasks during faucet removal, offering versatility and ease of use.

Magnetic Wristband:
Product: RAK Magnetic Wristband for Holding Screws, Nails and Drill Bits for Men
Description: Keep track of small screws or clips during the removal process with this magnetic wristband, ensuring they are securely held in place.
These recommended products enhance the faucet removal process, providing specialized tools for effective and efficient dismantling of the old fixture. Integrate them for a smoother and more organized removal experience.
Step 4: Install the New Faucet
- Position the New Faucet: Place the new faucet into the pre-drilled mounting holes on the sink, ensuring proper alignment. Apply Plumber’s Tape around threaded connections for a secure seal.
- Secure with Mounting Nuts: Tighten the mounting nuts beneath the sink using a Basin Wrench or Adjustable Wrench. Ensure a firm yet careful attachment for stability.
- Connect Water Supply Lines: Reconnect water supply lines to the faucet inlets, using an Adjustable Wrench for secure connections. Consider using a Faucet Connector Hose for flexible and easy linking.
- Check for Leaks: Open water supply valves and inspect for leaks around connections. Use a Plunger to address minor sink clogs or water accumulation during testing.
- Test Faucet Functionality: Thoroughly test the new faucet by running both hot and cold water. Check for smooth operation and evaluate handles for any signs of wobbling or stiffness.
Recommended Products:
- Plumber’s Tape: Product: Dulepax-Tent Repair Tape Description: Enhance sealing capabilities during installation with this versatile and durable waterproof tape.
- Faucet Connector Hose: Product: Fluidmaster B1F09 Faucet Connector, Braided Stainless Steel Description: Simplify water supply line connections with this braided stainless steel hose, ensuring flexibility and durability.
These recommended products complement the faucet installation process, offering enhanced sealing and flexible connection solutions. Incorporate them for a smoother and more reliable installation experience.
Step 5: Check for Leaks
Congratulations on reaching the final stage of your kitchen faucet replacement journey! Now, let’s ensure your new fixture is not only installed but also functioning flawlessly without any leaks. This step-by-step guide will help you systematically check for leaks and troubleshoot any potential issues.
How to Check for Leaks:
- Turn On Water Supply: Gently open the water supply valves beneath the sink and turn on both the hot and cold water handles on the faucet. Watch closely for any signs of water leakage around connections and the base of the faucet.
- Inspect Water Supply Lines: Examine the water supply lines connected to the faucet. Look for drips or leaks around the connections. If you notice any issues, use an Adjustable Wrench to tighten the connections securely.
- Check Faucet Base and Handles: Inspect the base of the faucet and handles for any water accumulation. Ensure that the faucet is securely mounted, and there are no visible leaks around the base. Tighten the mounting nuts or handle connections if necessary.
- Monitor Under-Sink Area: Place a dry towel or paper towel beneath the sink and check for any signs of water accumulation. This precaution helps detect even the slightest leaks that may not be immediately visible.
Troubleshooting Tips:
- Persistent Leaks: If leaks persist, ensure that all connections are tight. If issues persist, consider consulting a professional plumber to assess and rectify the problem.
- Dripping Handles: If handles are dripping after use, it may indicate a faulty cartridge or seal. Refer to the faucet’s manual for guidance on replacing these components.
- Under-Sink Repairs: In case of significant leaks beneath the sink, turn off the water supply and consult a professional plumber for a thorough inspection and necessary repairs.

Recommended Products:
- Plunger: Product: MR.SIGA Toilet Plunger and Bowl Brush Combo Description: Keep this versatile plunger on hand for quick and effective resolution of minor clogs or water accumulation issues.

2. Leak Detector: Product: YoLink Smart Home Starter Kit: Hub & Water Leak Sensor 4-Pack Description: Enhance your monitoring capabilities with this Leak Detector, providing audible alerts if it comes into contact with water.
Integrate these recommended products into your faucet installation toolkit for a seamless and worry-free experience. Your proactive approach ensures not only a successfully replaced kitchen faucet but also a reliable and leak-free centerpiece for your kitchen.
Common Issues and Troubleshooting
Embarking on the journey of replacing your kitchen faucet can be transformative, but like any home improvement project, challenges may arise. In this section, we’ll address common faucet replacement issues that readers might encounter during the process and provide effective troubleshooting solutions.
Common Issues and Troubleshooting:
- Leaks Around Connections: Issue: Water leakage around connections can occur due to loose fittings or insufficient sealing.Troubleshooting: Tighten the connections using an Adjustable Wrench. For added sealing, consider using Waterproof Patch & Seal Tape for a durable and watertight solution.
- Difficulties Removing Old Faucet: Issue: Stubborn mounting nuts or corroded components can make removing the old faucet challenging.Troubleshooting: Utilize the 60-Pc Master Tap for versatile functionality. Its design simplifies the removal of mounting nuts and provides added leverage.
- Persistent Drips After Installation: Issue: Drips from the faucet after installation may indicate issues with the cartridge or seals.Troubleshooting: Refer to the faucet’s manual for guidance on replacing the cartridge or seals. Consider using Plumber’s Putty for a secure seal around the base, preventing water seepage.
- Handle Wobbling or Stiffness: Issue: Handles exhibiting wobbling or stiffness can impact the faucet’s functionality.Troubleshooting: Inspect handle connections and tighten as necessary. Adjustable Wrench can be a handy tool for securing handle components without causing damage.
- Unusual Noises During Operation: Issue: Strange noises during faucet operation may be due to loose components or water hammer.Troubleshooting: Inspect connections for tightness. Consider installing Water Hammer Arrestor to mitigate sudden pressure changes and reduce noise.
Embarking on the journey to replace a kitchen faucet is a rewarding endeavor that enhances the functionality and aesthetics of your culinary space.
As we conclude this comprehensive guide on “How to Replace a Kitchen Faucet,” it’s crucial to reflect on the importance of seeking professional assistance when faced with challenges beyond the scope of this guide.
Navigating the DIY Path:
Replacing a kitchen faucet is a manageable DIY project for many homeowners, allowing them to take charge of their home improvements and save on installation costs.
The step-by-step instructions provided in this guide aim to empower readers with the knowledge and confidence needed to successfully complete the faucet replacement process.
From gathering necessary tools to troubleshooting common issues, each step has been carefully outlined to ensure a smooth and efficient installation.
Importance of Professional Consultation:
However, it’s essential to acknowledge that some challenges may exceed the scope of a DIY guide.
If you encounter difficulties such as significant plumbing issues, unforeseen complications, or uncertainties in dealing with complex fixtures, it is advisable to seek the expertise of a professional plumber.
Professionals bring a wealth of experience and specialized knowledge, ensuring that intricate problems are addressed with precision and efficiency.
When to Consult a Professional:
- Complex Plumbing Systems: If your home has a complex plumbing system or if you’re unsure about navigating intricate connections, consulting a professional plumber can prevent potential complications.
- Structural or Fixture Challenges: When faced with unexpected structural challenges or difficulties in fitting the new faucet due to the sink’s design, a professional can provide tailored solutions.
- Water Supply Line Modifications: Modifying or relocating water supply lines may require expertise to ensure compliance with local plumbing codes and prevent issues such as leaks or reduced water pressure.
- Severe Faucet Installation Issues: If the faucet replacement process reveals severe issues with your plumbing or the sink itself, a professional assessment can uncover underlying problems and propose effective solutions.
Conclusion:
In conclusion, successfully replacing a kitchen faucet can be a fulfilling DIY project, bringing a renewed sense of functionality and style to your kitchen.
This guide has equipped you with the knowledge to navigate each step of the process confidently. However, if you encounter challenges that surpass the scope of this guide, don’t hesitate to reach out to a professional plumber.
Their expertise ensures that your kitchen upgrade is completed seamlessly, without compromising the integrity of your plumbing system.
What’s next?

Thank you for taking the time to read this blog. I hope you found the information and tips helpful.
Stay tuned for more informative articles and guides on kitchen mastery here at kitchenmasteryblog.com. We’ll be covering a wide range of topics, from knife skills to culinary techniques and everything in between.
We look forward to welcoming you back soon for more valuable insights and expertise to elevate your culinary journey. Happy cooking, and see you again on our next blog!