:max_bytes(150000):strip_icc()/mostly-make-ahead-bbq-ribs-recipe-0721FOO-2000-7669281a93c44c07b9bf03413578484a.jpg)
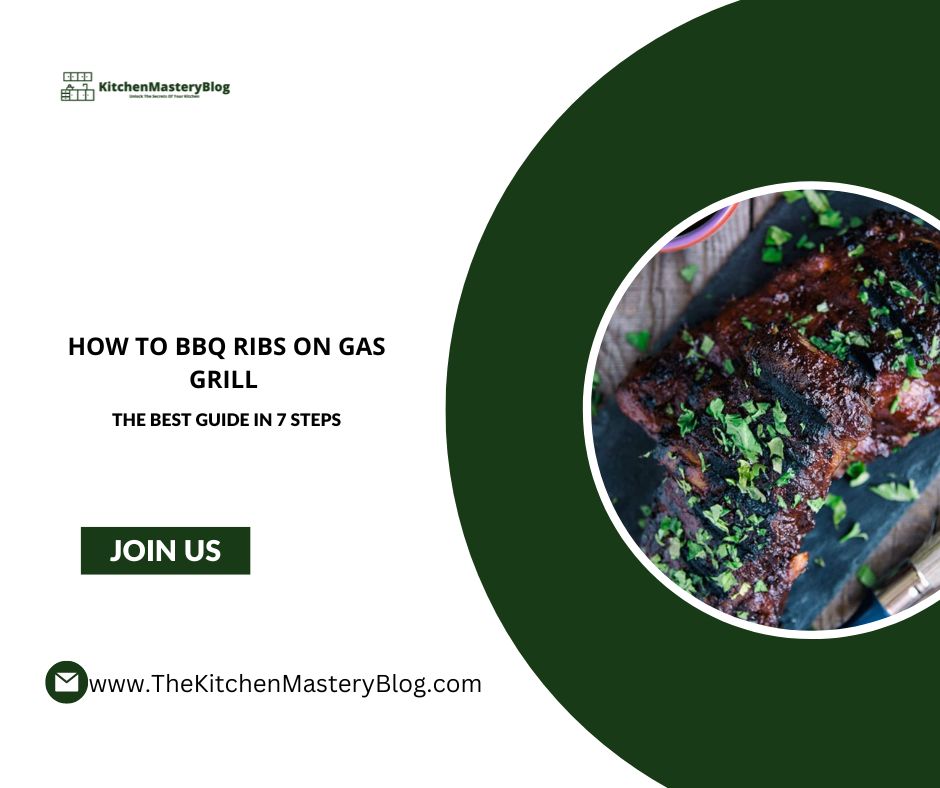
If you wonder how to BBQ ribs on gas grill, you’ve come to the right place! Grilling ribs on a gas grill is a fantastic way to enjoy tender, flavorful ribs right in your backyard.
In this guide, we’ll walk you through the step-by-step process of mastering this art, ensuring your ribs turn out perfectly every time. So, fire up your gas grill and get ready to elevate your BBQ game to new heights!
How to BBQ ribs on gas grill Overview
Table of Contents
1. Choosing the Perfect Ribs: Types, Cuts, and Preparation
When gearing up for a barbecue session, the spotlight often falls on one star attraction: ribs on BBQ. But with various types and cuts available, navigating the realm of rib selection can be daunting.
Fear not! In this guide, we’ll break down everything you need to know to choose the perfect ribs for your BBQ grill, ensuring a mouthwatering experience for you and your guests.
The Focus for this segment is on ribs on BBQ emphasizing the central theme of our discussion—how to select, prepare, and grill ribs for a flavorful BBQ feast.
Let’s start by exploring the different types of ribs you might encounter. First up, we have baby back ribs, renowned for their tender meat and slight curvature. These ribs come from the loin section of the pig and are relatively lean, making them a popular choice for BBQ enthusiasts.
Next, spare ribs, also known as side ribs, offer a meatier option with ample fat content, ideal for slow cooking on the BBQ grill.
Lastly, St. Louis-style ribs are spare ribs that have been trimmed to remove excess fat and cartilage, resulting in a more uniform and rectangular shape.

Now that we’ve covered the types, let’s delve into the various cuts of ribs available. When selecting ribs for your BBQ grill, consider factors such as meat thickness, marbling, and overall quality.
Look for ribs with a generous marbling of fat, as this will enhance flavor and tenderness during the grilling process. Additionally, opt for ribs that are uniform in size and thickness to ensure even cooking and consistent results.
Once you’ve chosen the perfect ribs for your BBQ grill, it’s time to prepare them for cooking. Start by removing the membrane from the underside of the ribs-
a crucial step that allows seasonings to penetrate the meat and ensures tender, flavorful results. Simply use a butter knife to loosen the membrane, then grip it with a paper towel and peel it away from the ribs.
With the membrane removed, it’s time to season the ribs to perfection. Whether you prefer a dry rub or a marinade, ensure that every surface of the ribs is generously coated with flavor-enhancing goodness.
Allow the ribs to marinate for at least an hour, or preferably overnight, to allow the flavors to meld and infuse the meat.
2. Preparing Your Gas Grill: Tips for Optimal Grilling Conditions
As you gear up to grill those succulent ribs on BBQ, it’s crucial to ensure your gas grill is primed and ready for action.
In this section, we’ll explore essential tips for preparing your gas grill to create optimal grilling conditions, guaranteeing a flawless BBQ experience from start to finish.
First and foremost, before firing up your gas grill, it’s essential to give it a thorough cleaning. Remove any debris, grease, or food residue from the grates, burners, and drip trays using a grill brush and warm, soapy water.
A clean grill not only promotes better heat distribution but also minimizes the risk of flare-ups and off-flavors imparted by residual grease.
Next, inspect your gas grill for any signs of wear and tear, such as damaged burners, ignition systems, or propane connections.
Ensure that all components are in good working condition and replace any worn or malfunctioning parts to avoid interruptions during the grilling process.
Once your gas grill is clean and in proper working order, it’s time to preheat it to the desired temperature. Preheating is crucial for achieving consistent cooking results and searing those ribs to perfection. S
et your gas grill to medium-high heat and allow it to preheat for at least 10-15 minutes, ensuring that the grates are hot and ready for grilling.
While preheating your gas grill, take this opportunity to adjust the heat settings to create indirect cooking zones. Indirect heat is ideal for slow-cooking ribs on BBQ, allowing them to cook evenly without the risk of burning.
Simply turn off one or more burners to create a cooler area on the grill, where you can place the ribs for indirect cooking.
3. Preparing the Ribs: Seasoning and Marinating for Flavorful Results
When it comes to grilling ribs on BBQ, the key to mouthwatering results lies in the seasoning and marinating process.
In this section, we’ll explore how to infuse your ribs with delicious flavors that will tantalize your taste buds and leave your guests craving more.
The Focus for this segment is still “ribs on BBQ,” underscoring the central theme of our discussion—how to prepare your ribs for grilling on the BBQ grill.Before you start seasoning your ribs, it’s essential to ensure they are clean and properly trimmed.
Remove any excess fat or membrane from the ribs using a sharp knife, as this will allow the seasonings to penetrate the meat more effectively and ensure even cooking.Now, let’s talk seasoning. When it comes to seasoning ribs on BBQ, the options are endless.
Whether you prefer a dry rub or a wet marinade, the goal is to enhance the natural flavor of the meat while adding layers of complexity and depth.
A classic dry rub typically consists of a mixture of spices such as paprika, brown sugar, garlic powder, onion powder, salt, and pepper. Simply rub the seasoning mixture evenly onto the surface of the ribs, ensuring that every inch is coated with flavor.
For those who prefer a wet marinade, consider combining ingredients such as soy sauce, Worcestershire sauce, vinegar, honey, garlic, and herbs to create a flavorful concoction.
Place the ribs in a resealable plastic bag or shallow dish, pour the marinade over them, and refrigerate for several hours or overnight to allow the flavors to meld and infuse the meat.
When it comes to marinating ribs on BBQ, patience is key. The longer you allow the ribs to marinate, the more pronounced the flavor will be.
However, be cautious not to over-marinate, as this can result in overly tenderized meat with a mushy texture.
4. Mastering the Grilling Process: Techniques for Perfectly Cooked Ribs
Now that your ribs are seasoned and marinated, it’s time to dive into the grilling process.
Grilling ribs on BBQ requires finesse and attention to detail to ensure they turn out perfectly cooked, with tender meat and mouthwatering flavor.
In this section, we’ll explore essential techniques for mastering the grilling process and achieving barbecue perfection.
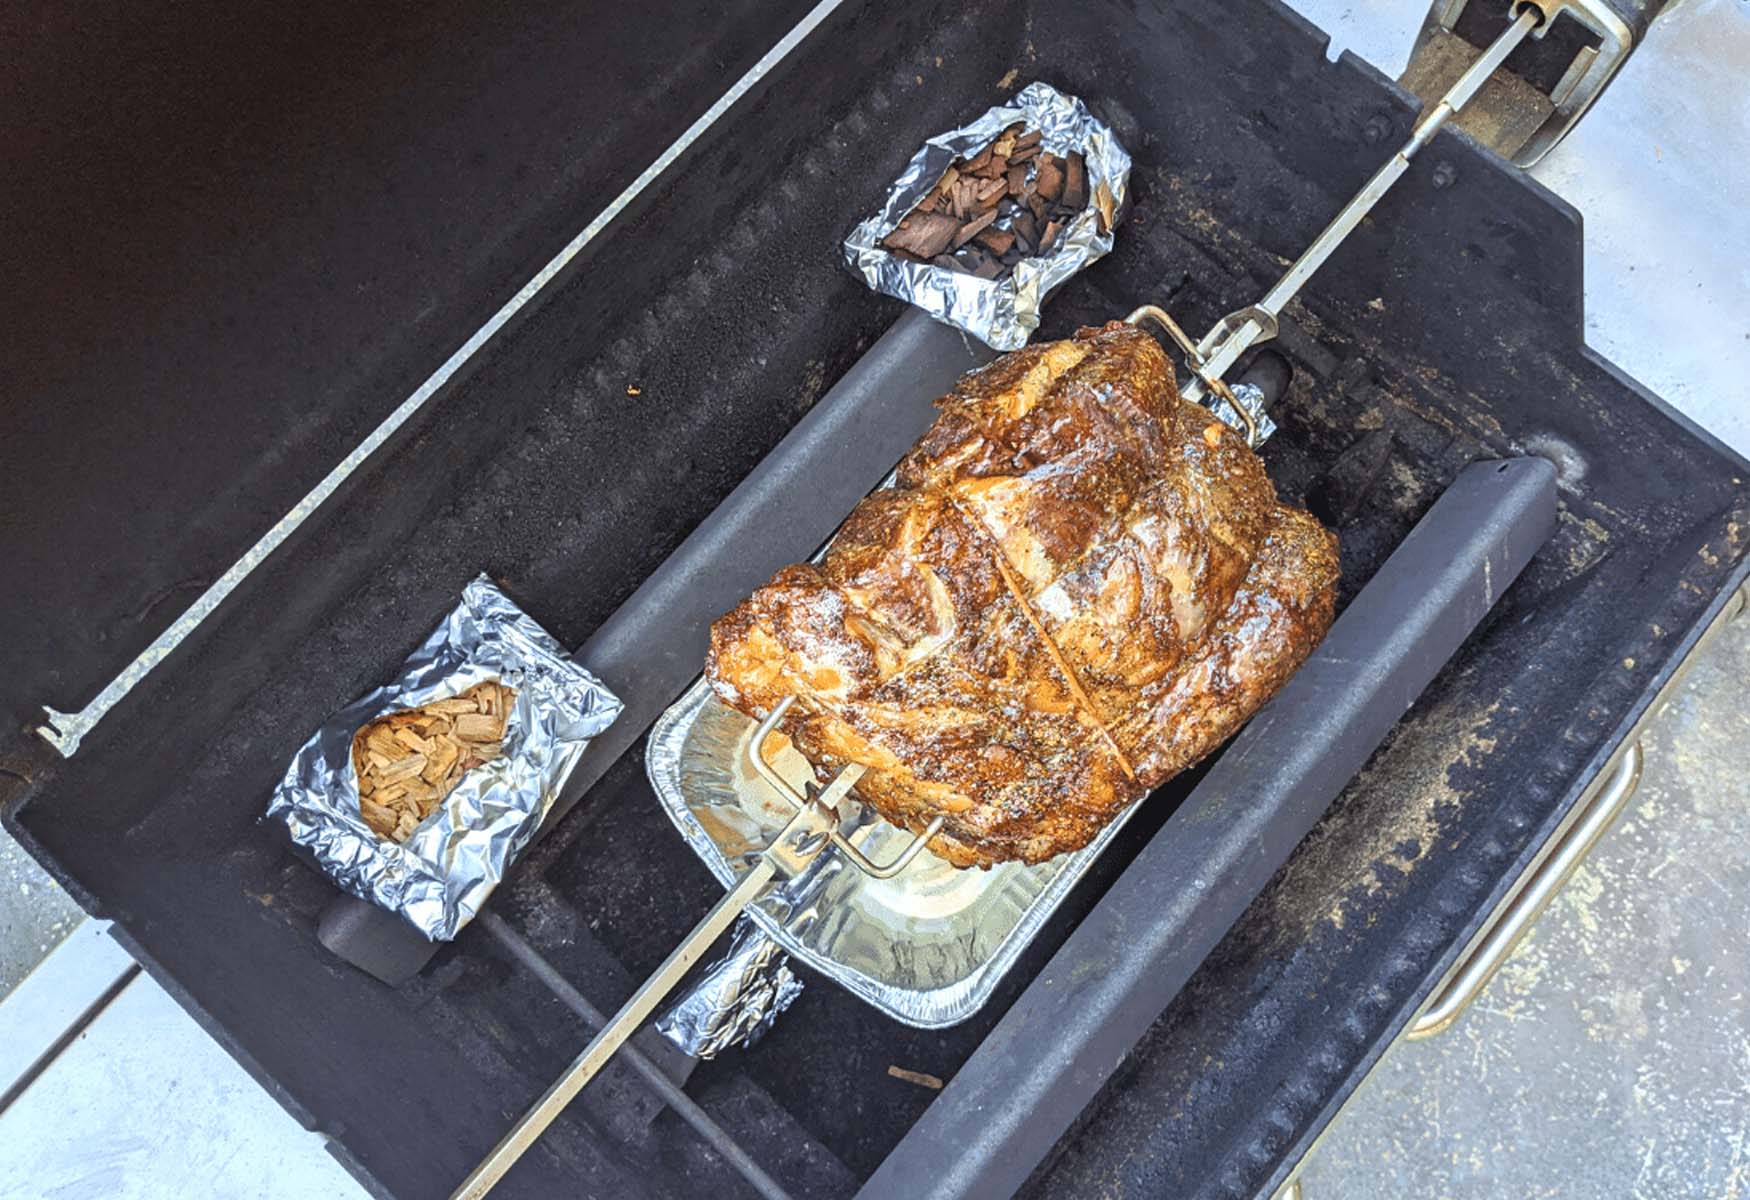
First and foremost, when grilling ribs on BBQ, it’s essential to establish the right temperature and cooking method. Start by preheating your gas grill to medium heat, around 275-300°F.
This moderate temperature allows the ribs to cook slowly and evenly, resulting in tender meat that is infused with smoky flavor.
Useful Products: The MEATER Plus is a long-range wireless smart meat thermometer with a Bluetooth booster, perfect for monitoring meat temperature from a distance.
Ideal for BBQ, oven, grill, kitchen, smoker, and rotisserie cooking. Its iOS and Android app allow convenient temperature tracking, ensuring perfectly cooked ribs on BBQ every time.

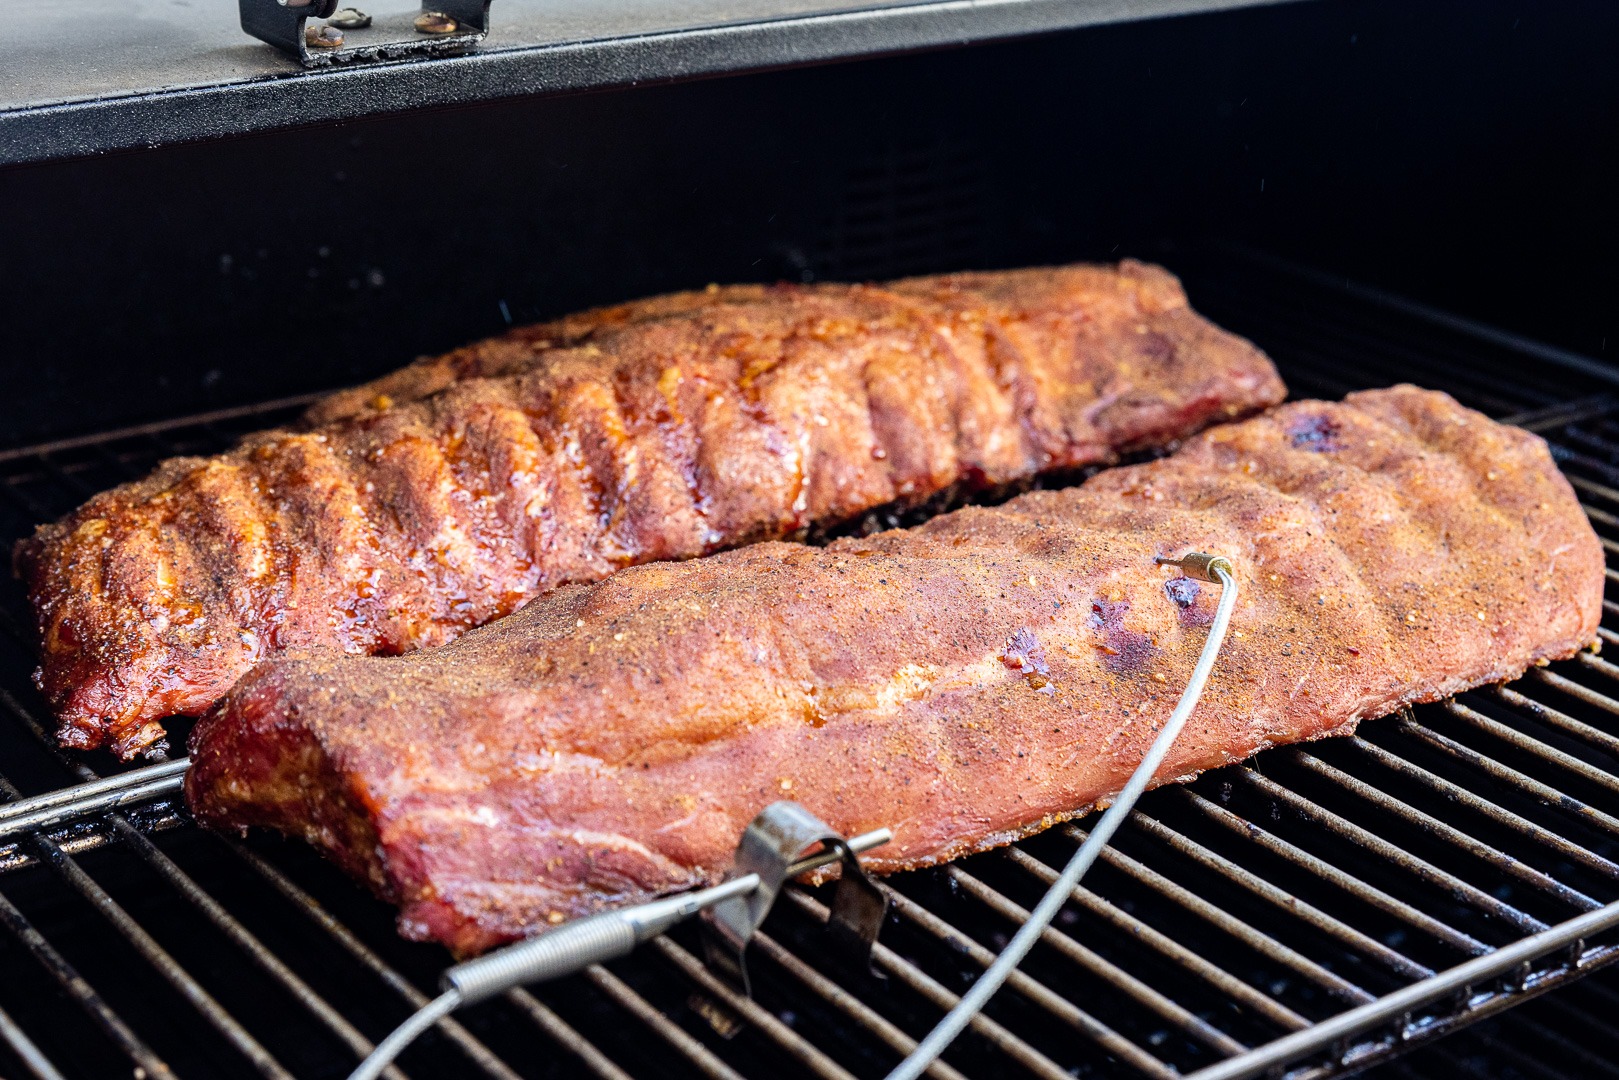
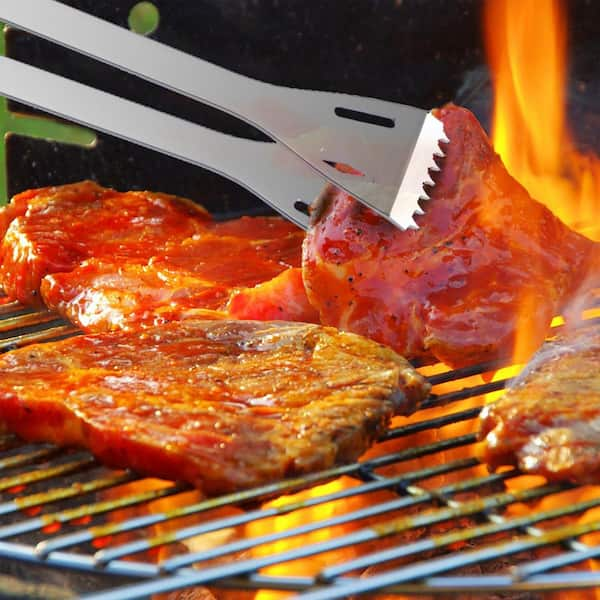
Once your grill is preheated, it’s time to arrange the ribs on the grates. Place the ribs bone-side down on the grill, positioning them over indirect heat to prevent flare-ups and ensure even cooking.
Close the lid of the grill and let the ribs cook undisturbed for the first hour, allowing the heat to penetrate the meat and work its magic.
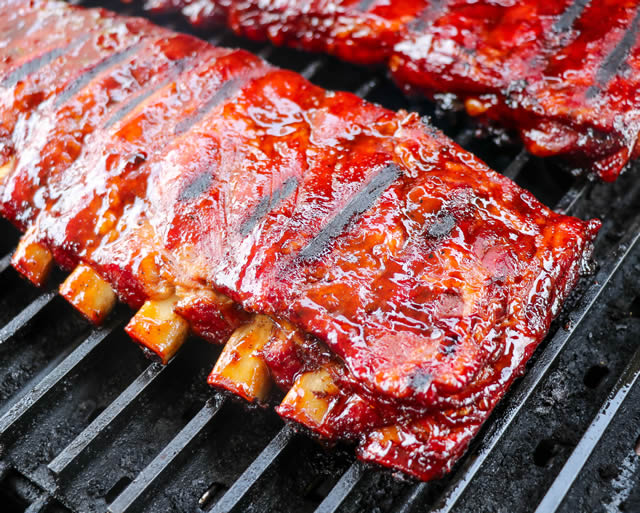
After the initial hour of cooking, it’s time to start basting the ribs with your favorite barbecue sauce. Using a basting brush, generously coat the ribs with sauce, ensuring that every surface is covered.
Continue to baste the ribs every 30 minutes or so throughout the remainder of the cooking process, building layers of flavor and creating a delicious glaze.

5. Sauce and Glaze: Enhancing Flavor and Texture
First and foremost, let’s discuss the role of sauce in enhancing the flavor of ribs on BBQ. Barbecue sauce comes in a variety of flavors and styles, ranging from tangy and sweet to spicy and smoky.
Whether you prefer a classic tomato-based sauce, a tangy vinegar-based sauce, or a bold mustard-based sauce, the key is to choose one that complements the natural flavors of the meat and adds depth and complexity to your dish. When applying sauce to your ribs on BBQ, it’s important to do so strategically to avoid overpowering the flavor of the meat.
Begin by brushing a thin layer of sauce onto the ribs during the last 30 minutes of cooking, allowing it to caramelize and develop a rich, flavorful crust.
Alternatively, serve extra sauce on the side for dipping, allowing each guest to customize their ribs according to their preferences.In addition to sauce, glazes can also be used to enhance the texture and appearance of ribs on BBQ.
A glaze typically consists of a mixture of sweet and savory ingredients, such as honey, brown sugar, soy sauce, and spices, that is applied to the ribs during the final stages of cooking to create a glossy, caramelized finish.
To apply a glaze to your ribs on BBQ, simply brush it onto the ribs during the last 10-15 minutes of cooking, allowing it to set and form a sticky, flavorful coating. Be sure to apply the glaze evenly to ensure consistent flavor and texture across the entire surface of the ribs.
6.Checking for Doneness: Signs Your Ribs Are Ready to Enjoy
After patiently tending to your ribs on BBQ, the moment of truth arrives: determining if they are perfectly cooked and ready to enjoy.
First and foremost, when checking for doneness, it’s essential to consider the internal temperature of the ribs. Using a meat thermometer, insert the probe into the thickest part of the meat, away from the bone, and check for a reading of 190-203°F.
This temperature range indicates that the collagen in the meat has broken down, resulting in tender, succulent ribs that are ready to be enjoyed.
In addition to temperature, visual cues can also help you determine if your ribs are ready to be removed from the BBQ grill.
Look for signs of caramelization and browning on the surface of the ribs, indicating that the sugars in the sauce or glaze have begun to caramelize and form a delicious crust.
The meat should also pull back slightly from the ends of the bones, revealing a portion of the bone and indicating that the ribs are cooked to perfection.
Another method for checking for doneness is the “bend test.” Using a pair of tongs, gently lift the ribs from the center and observe how they bend.
If the ribs bend easily and the meat starts to tear slightly, they are likely ready to be removed from the grill. However, if the ribs remain stiff and don’t flex easily, they may need more time to cook.
7. Resting and Serving: Final Steps for a Mouthwatering Presentation
After all the time and effort spent grilling your ribs on BBQ to perfection, the final steps of resting and serving are crucial for ensuring a mouthwatering presentation that will impress your guests.
Once your ribs have finished cooking on the BBQ grill, resist the temptation to immediately dig in.
Instead, transfer the ribs to a clean cutting board or serving platter and allow them to rest for 10-15 minutes. Resting allows the juices within the meat to redistribute evenly, resulting in ribs that are juicy and flavorful with every bite.
While the ribs are resting, take this opportunity to prepare any additional accompaniments or garnishes to enhance the presentation.
Consider serving your ribs with classic BBQ sides such as coleslaw, cornbread, baked beans, or grilled vegetables. Arrange these accompaniments on a large platter or serving tray alongside the ribs for a visually appealing spread.
When it comes to serving your ribs on BBQ, presentation is key. Arrange the rested ribs on a clean platter, making sure to separate individual ribs for easy serving.Garnish the platter with fresh herbs such as parsley or cilantro for a pop of color and freshness.
Consider adding a squeeze of lemon or lime juice over the ribs just before serving to brighten the flavors and add a hint of acidity. Alternatively, offer a selection of BBQ sauces or glazes on the side for guests to customize their ribs according to their preferences.

FAQ
How long should I cook ribs on the BBQ grill?
Cooking times can vary depending on factors like the type of ribs, grill temperature, and desired doneness. Generally, ribs should be cooked low and slow over indirect heat for about 3-4 hours until they reach an internal temperature of 190-203°F for optimal tenderness.
What’s the best way to season ribs for BBQ?
Seasoning ribs is a personal preference, but a classic dry rub consisting of spices like paprika, brown sugar, garlic powder, and salt is a popular choice. Alternatively, marinating ribs in a mixture of soy sauce, Worcestershire sauce, and herbs can also impart delicious flavor.
Should I wrap ribs in foil when grilling?
Wrapping ribs in foil, also known as the “Texas crutch,” can help tenderize the meat and lock in moisture during cooking. This method, typically done halfway through the cooking process, can result in more succulent and fall-off-the-bone ribs.
How do I know when ribs are done?
The best way to determine if ribs are done is by using a meat thermometer to check the internal temperature, aiming for 190-203°F. Additionally, look for visual cues like caramelization on the surface and meat pulling away from the bones.
What sauces pair well with BBQ ribs?
BBQ ribs pair well with a variety of sauces, including classic barbecue sauce, tangy vinegar-based sauces, sweet and spicy glazes, or even a zesty chimichurri. Experiment with different flavors to find the perfect sauce to complement your ribs.
What’s next?

Thank you for taking the time to read this blog. I hope you found the information and tips helpful.
Stay tuned for more informative articles and guides on kitchen mastery here at kitchenmasteryblog.com. We’ll be covering a wide range of topics, from knife skills to culinary techniques and everything in between.
We look forward to welcoming you back soon for more valuable insights and expertise to elevate your culinary journey. Happy cooking, and see you again on our next blog!